Open LMS Unveils Unified Platform, Redefining How It Delivers Learning Technology
Announcing Open LMS Version 5.1: the newly unified codebase that combines open source LMS technology with enterprise-grade security and support.
Announcing Open LMS Version 5.1: the newly unified codebase that combines open source LMS technology with enterprise-grade security and support.
Open LMS relaunches its Academy. Learn about its free, self-paced courses that support onboarding, training, platform adoption, and LMS upskilling.
Open LMS shares its vision for higher education on All Access With Andy Garcia, highlighting open-source innovation, accessibility, and scalable learning.
Learn more about how Open LMS earned Bronze in the 2025 Brandon Hall Group Excellence in Awards™.
Learn how Open LMS, in collaboration with Continence Health Australia, received a diamond award for compliance training excellence.
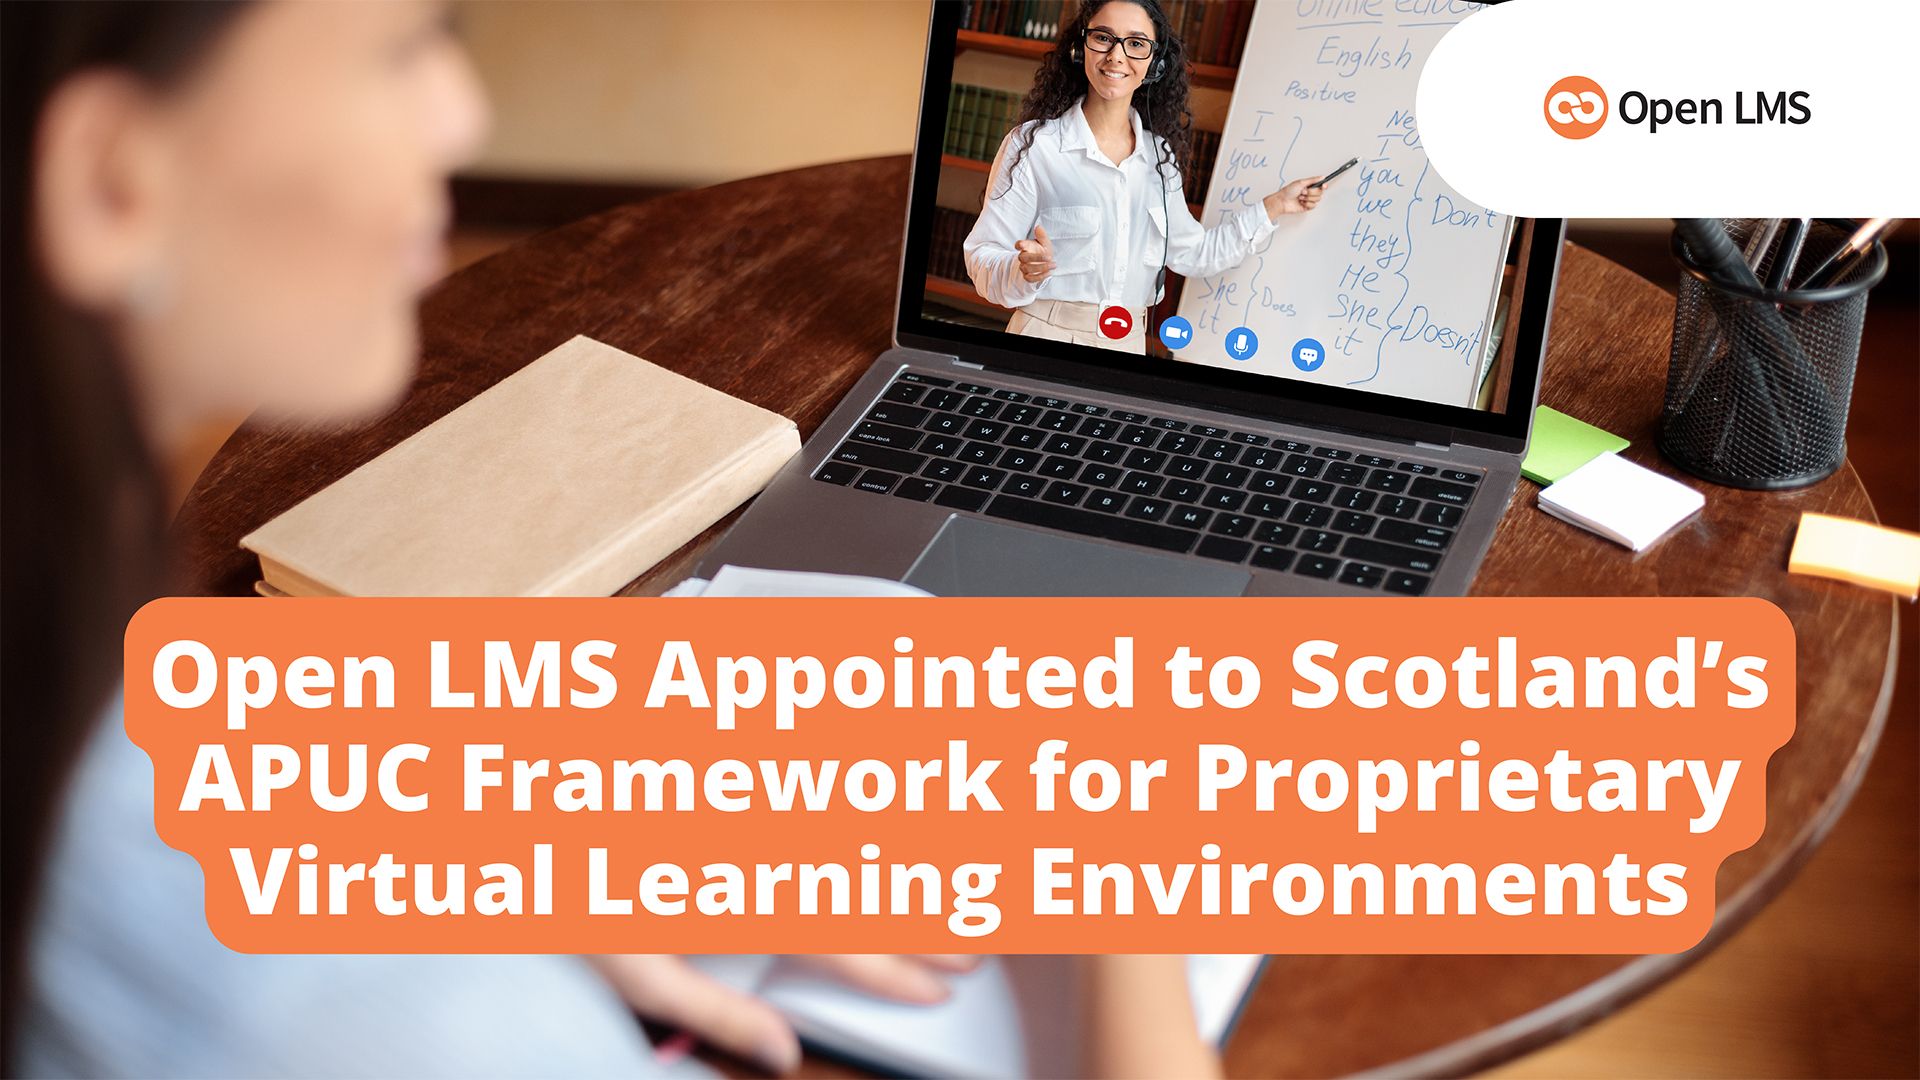
Open LMS’s appointment to Scotland’s APUC framework gives UK institutions streamlined access to a proven, scalable and engaging learning platform.
Open LMS’s latest upgrade expands access to Conduit, an exclusive plugin that streamlines back-end administrative tasks and improves data accuracy.
Discover why EdTech Digest has named Open LMS the winning learning management solution in its 2025 EdTech Awards.
Open LMS and sibling company, Affirmity, announce a new partnership that allows Open LMS to offer workforce training courses from Affirmity.