
Online Learning That Works! 5 Strategies for Success
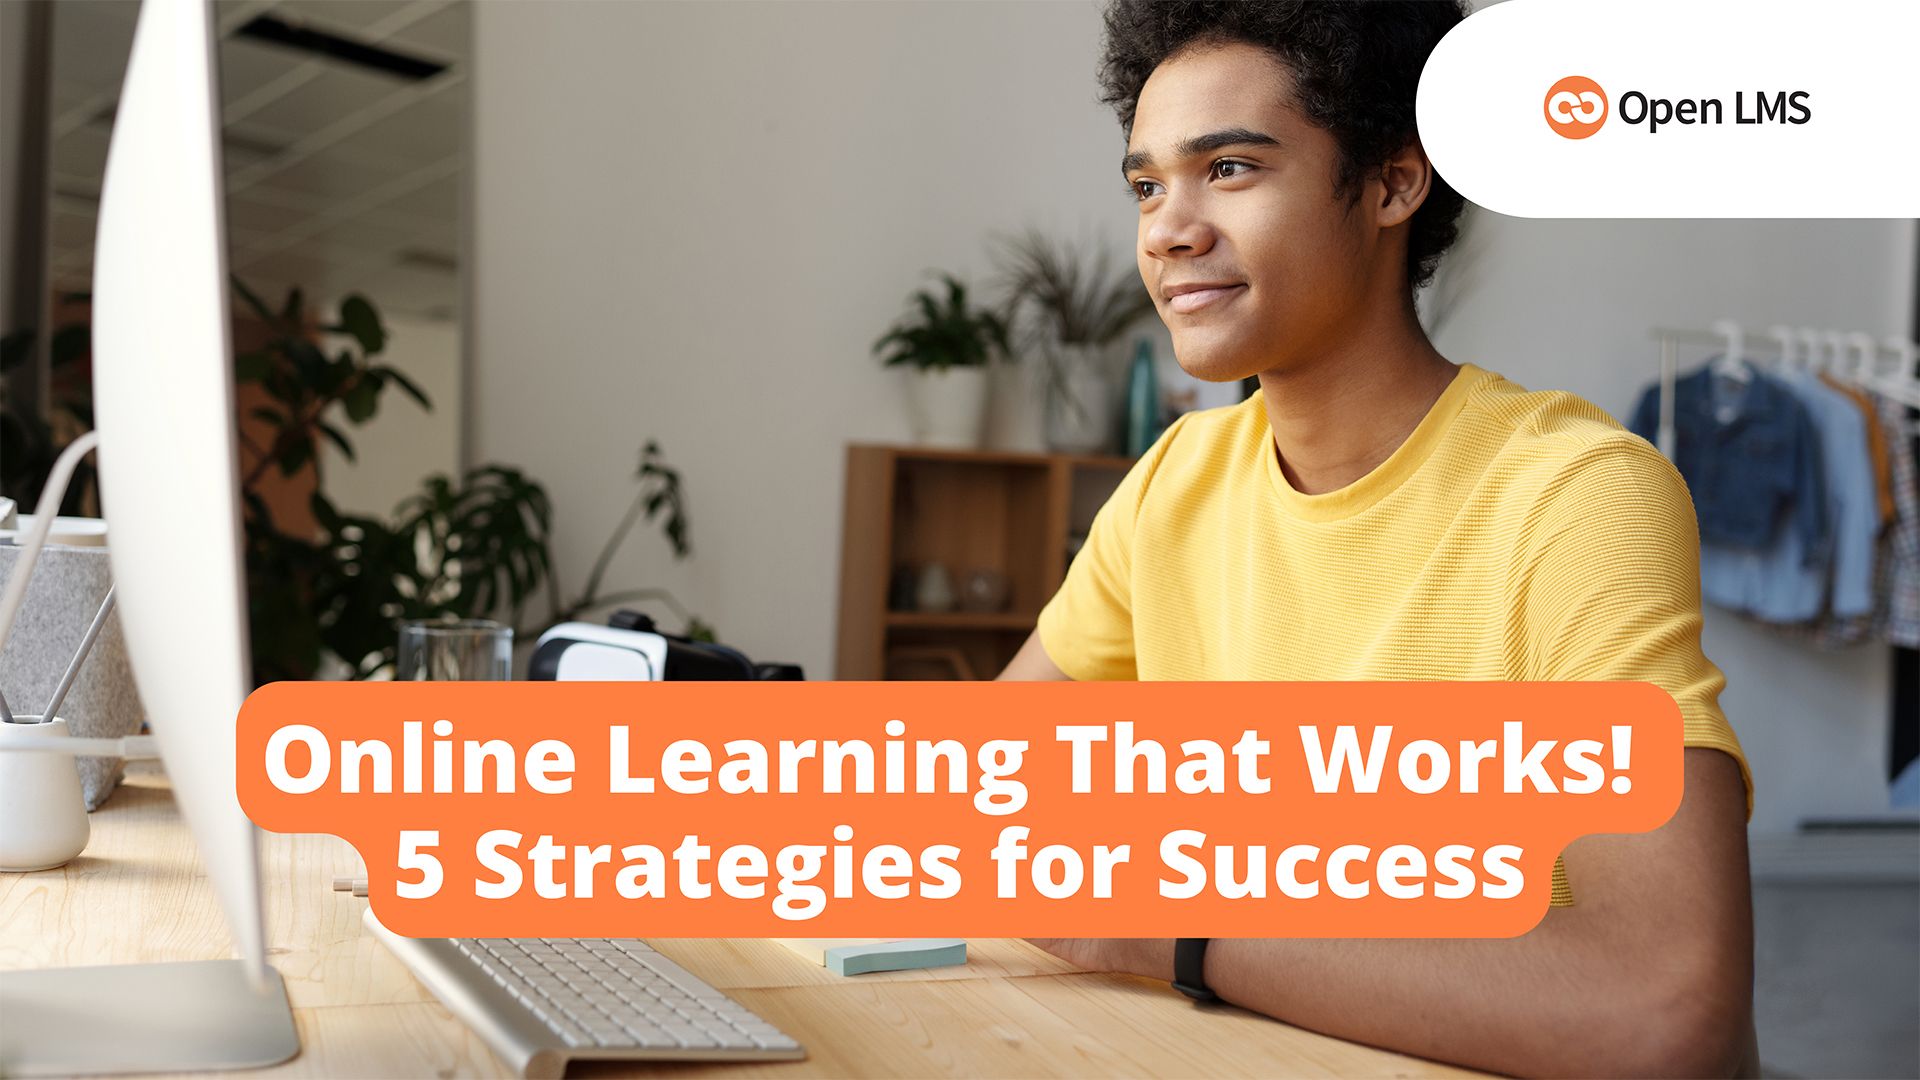
Effective online learning is about more than just moving your existing courses online. Discover five strategies to make your online learning efforts a success.
Effective online learning is about more than just moving your existing courses online. Discover five strategies to make your online learning efforts a success.
The number of microcredentials continues to grow. Learn about their key benefits and why universities and colleges should integrate them into their programs.
The cheapest learning platform isn’t always the most cost-effective. Learn four tips to help your institution strategically budget for a high-value LMS.
Learn how Open LMS features strengthen learning governance and encourage consistency in your higher education institution.
Learn how AI and other technologies are impacting how higher education institutions deliver learning experiences.
Discover how Open LMS is implementing AI-powered tools to make life easier for instructors at higher education institutions.
Competency-based education models help your learners prepare for the workforce. Learn about 10 components key to developing effective CBE models.
Learn how Open LMS helps educators tackle mental health challenges, lighten workloads, and create a supportive teaching environment.
Discover how competency-based education helps learners master the skills necessary to succeed in the workplace. Plus, learn how to design a CBE model.


